Gaining Root Access on Netgear Nighthawk Mobile 5G/LTE Routers
This blog posts covers the required steps to gain root access via Telnet on Netgear Nighthawk Mobile 5G/LTE Routers. Its the first post in a small series covering my experiences playing around with this device.
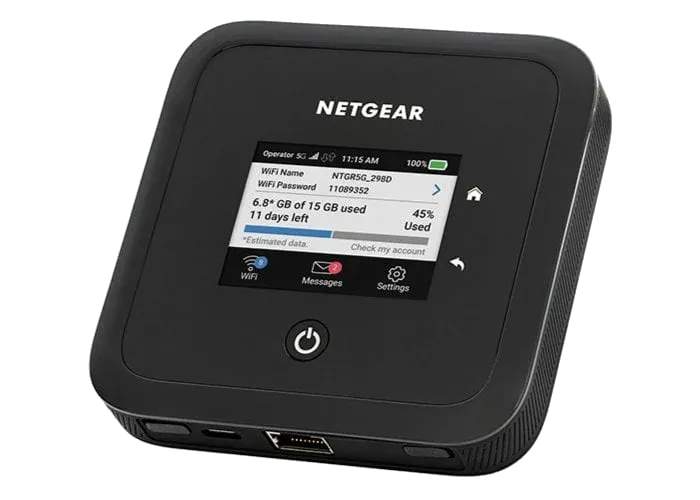
Last month I obtained one of Netgear’s latest mobile 5G routers, the Netgear Nighthawk M5 (model MR5200-100EUS) . Being one of the most expensive consumer 5G routers, I was lucky to get a fairly good second hand deal from eBay.
The router is powered by Qualcomm’s® Snapdragon™ X55 5G Modem-RF system. Looking closer at the internals of the device by checking the FCC filing for the closely related American model MR5100, we can see that the system consists of a Qualcomm SDX55 chipset which combines both the mobile baseband and application processors.
Gaining Root Access
Section titled “Gaining Root Access”Gaining root access to the device is actually fairly simple in comparison to rooting modern Android-based devices. The router exposes an open TCP port providing an AT command interface. However, this port is only accessible via a tethered USB connection, not via Wifi.
Using this AT command interface, we can interact with the modem, unlock an extended command set which allows us enable a Telnet daemon.
Detailed Steps
Section titled “Detailed Steps”-
Install the Sierra Wireless debug tools from bkerler ( /bkerler/edl )
Terminal window sudo apt install python3 gitgit clone https://github.com/bkerler/edl.gitcd edlsudo python setup.py install(More detailed installation instructions are covered in the README file of the repo.)
-
Connect your machine via USB-C to the Netgear router
-
Make sure to disconnect from the Netgear Wifi
-
Open a terminal an connect to the AT command interface via netcat (nc)
(Make sure not to miss the -c option as it will the enable nc to use the proper CRLF line-endings which are required for the AT interface).
Terminal window nc -c 192.168.1.1 5510 -
Once connected to the AT command interface, you need to request a unlock challenge code by sending
AT!OPENLOCK?The previous command will return a challenge code which we use to generate a corresponding response code via the previously installed
sierrakeygen.pytool:Terminal window sierrakeygen.py -l <replace_with_challenge_code> -d SDX55The previous command will print out another
AT+OPENLOCKcommand which you need to copy verbatim back to your AT command session. -
Run the following AT commands to enable the Telnet daemon
AT!TELEN=1AT!CUSTOM="RDENABLE", 1AT!CUSTOM="TELNETENABLE", 1You can now close the AT command session by pressing Ctrl+C.
-
Power-cycle the Netgear Router to start the Telnet daemon
Voila, you can now telnet into the device via both the tethered USB-C cable or Wifi.
Terminal window nc -c 172.23.156.129 23��������mdm 1623 sdxprairie/ # uname -auname -aLinux sdxprairie 4.14.117 #1 PREEMPT Thu Aug 19 23:42:26 UTC 2021 armv7l GNU/LinuxDisclaimer: Please be aware that the device security is now breached as all devices connected to the Wifi or USB can gain root access to the device. The root Telnet login requires no password.
Next steps
Section titled “Next steps”Before proceeding we should make sure that we can bring the device back to a secure state by replacing the Telnet by an Secure Shell (SSH) daemon. In one of the next posts of this series, I will be building a statically linked version of the Dropbear SSH server to replace Telnet.
Before continuing my reverse engineering efforts on the device, I would like to ensure that I will not brick the router while doing so by dumping the firmware and extract all the details from it. This will allow us to hopefully restore the device by flashing the original firmware. Maybe we will be able to run OpenWRT on it.
I have also designed a wall mount for the router which allows me to mount it permanently into by van.