GoSƐ - A terascale file-uploader
GoSƐ is a modern and scalable file-uploader focusing on scalability and simplicity.
It is a little hobby project I’ve been working on over the last weekends.
The only requirement for GoSƐ is a S3 storage backend which allows to it to scale horizontally without the need for additional databases or caches. Uploaded files a divided into equally sized chunks which are hashed with a MD5 digest in the browser for upload. This allows GoSƐ to skip chunks which already exist. Seamless resumption of interrupted uploads and storage savings are the consequence.
And either way both upload and downloads are always directed directly at the S3 server so GoSƐ only sees a few small HTTP requests instead of the bulk of the data. Behind the scenes, GoSƐ uses many of the more advanced S3 features like Multi-part Uploads and Pre-signed Requests to make this happen.
Users have a few options to select between multiple pre-configured S3 buckets or enable browser & mail notifications about completed uploads. A customizable retention / expiration time for each upload is also selectable by the user and implemented by S3 life-cycle policies. Optionally, users can also opt-in to use an external service to shorten the URL of the uploaded file.
Currently a single concurrent upload of a single file is supported. Users can observe the progress via a table of details statistics, a progress-bar and a chart showing the current transfer speed.
GoSƐ aims at keeping its deployment simple and by bundling both front- & backend components in a single binary or Docker image. GoSƐ has been tested with AWS S3, Ceph’s RadosGW and Minio. Pre-built binaries and Docker images of GoSƐ are available for all major operating systems and architectures at the release page: /stv0g/gose (Releases) .
GoSƐ is open-source software licensed under the Apache 2.0 license.
Screencast
Section titled “Screencast”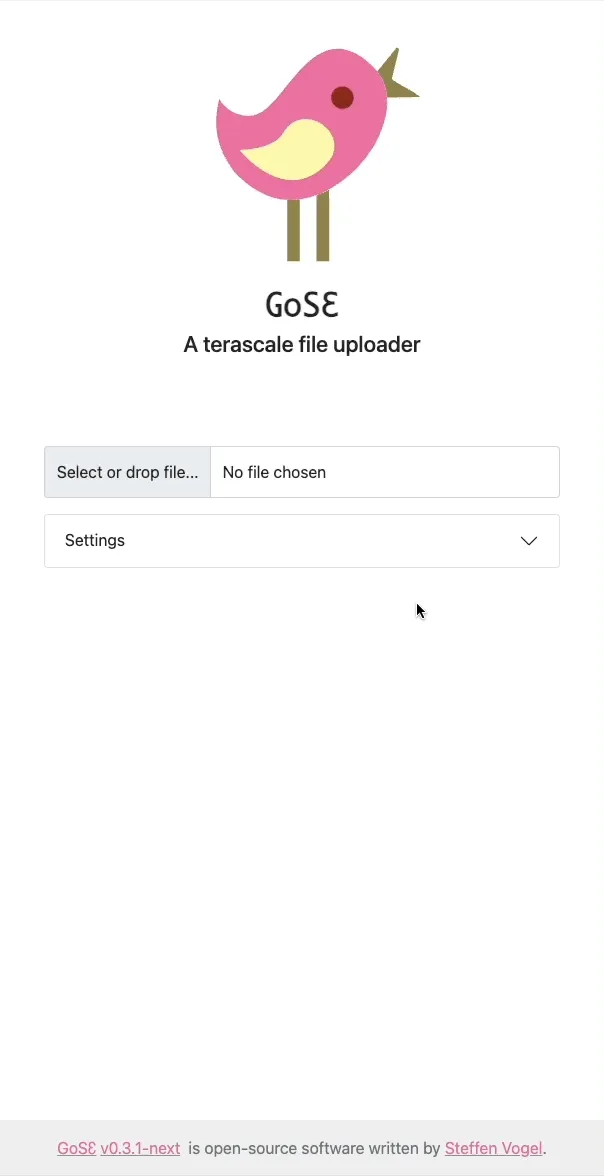
Features
Section titled “Features”- De-duplication of uploaded files based on their content-hash
- Uploads of existing files will complete in no-time without re-upload
- S3 Multi-part uploads
- Resumption of interrupted uploads
- Drag & Drop of files
- Browser notifications about failed & completed uploads
- User-provided object expiration / retention time
- Copy URL of uploaded file to clip-board
- Detailed transfer statistics and progress-bar / chart
- Installation via single binary or container
- JS/HTML/CSS Frontend is bundled into binary
- Scalable to multiple replicas
- All state is kept in the S3 storage backend
- No other database or cache is required
- Direct up & download to Amazon S3 via presigned-URLs
- Gose deployment does not see an significant traffic
- UTF-8 filenames
- Multiple user-selectable buckets / servers
- Optional link shortening via an external service
- Optional notification about new uploads via shoutrrr
- Mail notifications to user-provided recipient
- Cross-platform support:
- Operating systems: Windows, macOS, Linux, BSD
- Architectures: arm64, amd64, armv7, i386
Roadmap
Section titled “Roadmap”I consider the current state of GoSƐ to be production ready. Its basic functionality is complete. However, there are still some ideas which I would like to work on in the future:
- BEP-17 and BEP-19 Torrent Web-seeding
- Uploading to Interplanetary File System
- Support End-to-End or Server-Side-Encryption
- Better access control
- Limit by number of up/downloads
- Limit by token
- Limit by IP ranges / Geographical origin
- Add End-to-End testing with Selenium Web-driver
Also checkout the Codeberg Issue Tracker /stv0g/gose (Issues) for a detailed overview.