Skip to content

Project

6 posts with the tag “Project”

Fritz!DNS - An authoritative DNS server for AVM FRITZ!Box routers
Fritz!Box
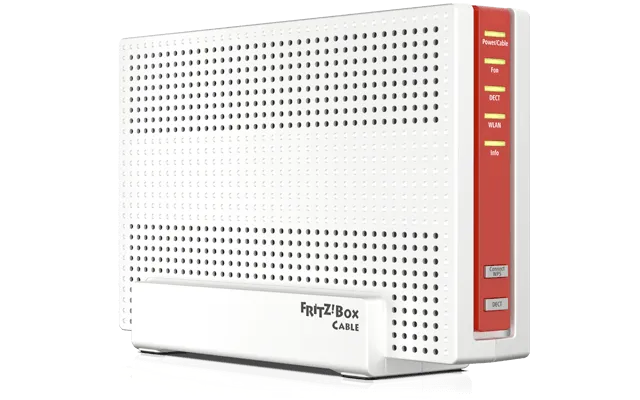
Fritz!Box.

In my home network, I am using an AVM FRITZ!Box Cable 6690. It handles DHCP, DNS, Wifi and recently also interfaces my home network via WireGuard to my servers.


Just like the venerable Dnsmasq AVM’s FRITZ!OS uses hostnames learned from its DHCP leases and makes them resolvable via its internal DNS server.

Unfortunately, this feature in FRITZ!OS has some limitations:

  1. The name of the DNS Zone is hard coded to fritz.box and can not be adjusted. Hence, the resolvable names have the following schema: myhostname.fritz.box
  2. The internal DNS server only supports recursive DNS looks. It does not act as an authoritative DNS server. Hence the local zone can not be delegated.
  3. AXFR zone transfers are not supported.

My solution to these shortcomings is Fritz-DNS which:

  • Is a small tool written in the Go programming language.
  • Is a small authoritative DNS server which serves A / AAAA resource records for local hosts connected to an AVM Fritz Box home WiFi router.
  • Can be used in a hidden master configuration as it supports AXFR zone transfers.
  • Uses the custom extension (X_AVM-DE_GetHostListPath) of the TR-064 Hosts SOAP-API as documented here to retrieve a list of local hosts.
  • Supports the generation of AAAA (IPv6) resource records based on the hosts MAC addresses using 64-Bit Extended Unique Identifier (EUI-64) and a configured unique local address (ULA) prefix.
  • Does not yet support PTR resource records (to be implemented…)
  • Is licensed under the Apache 2.0 license

You can find Fritz-DNS at Codeberg: /stv0g/fritz-dns .

Here is a small figure illustrating the interaction of Fritz-DNS with the Fritz!Box and other DNS servers / clients:

Fritz!DNS Architecture
Fritz!DNS Architecture.
Terminal window
$ fritz-dns
Usage of fritz-dns
-ipv6-ula-prefix string
Fritz Box IPv6 ULA Prefix (default "fd00::/64")
-pass string
FritzBox password
-port int
Listen port (default 53)
-soa-expire duration
SOA expire value (default 744h0m0s)
-soa-mbox string
SOA mailbox value
-soa-minttl duration
SOA minimum TTL value (default 1h0m0s)
-soa-ns string
Authorative DNS server for the zone
-soa-refresh duration
SOA refresh value (default 2h0m0s)
-soa-retry duration
SOA retry value (default 1h0m0s)
-ttl duration
default TTL values for records (default 5m0s)
-url string
FritzBox URL (default "http://fritz.box/")
-user string
FritzBox username (default "admin")
-zone string
DNS Zone (default "fritz.box.")
Aachen wird Transparent!

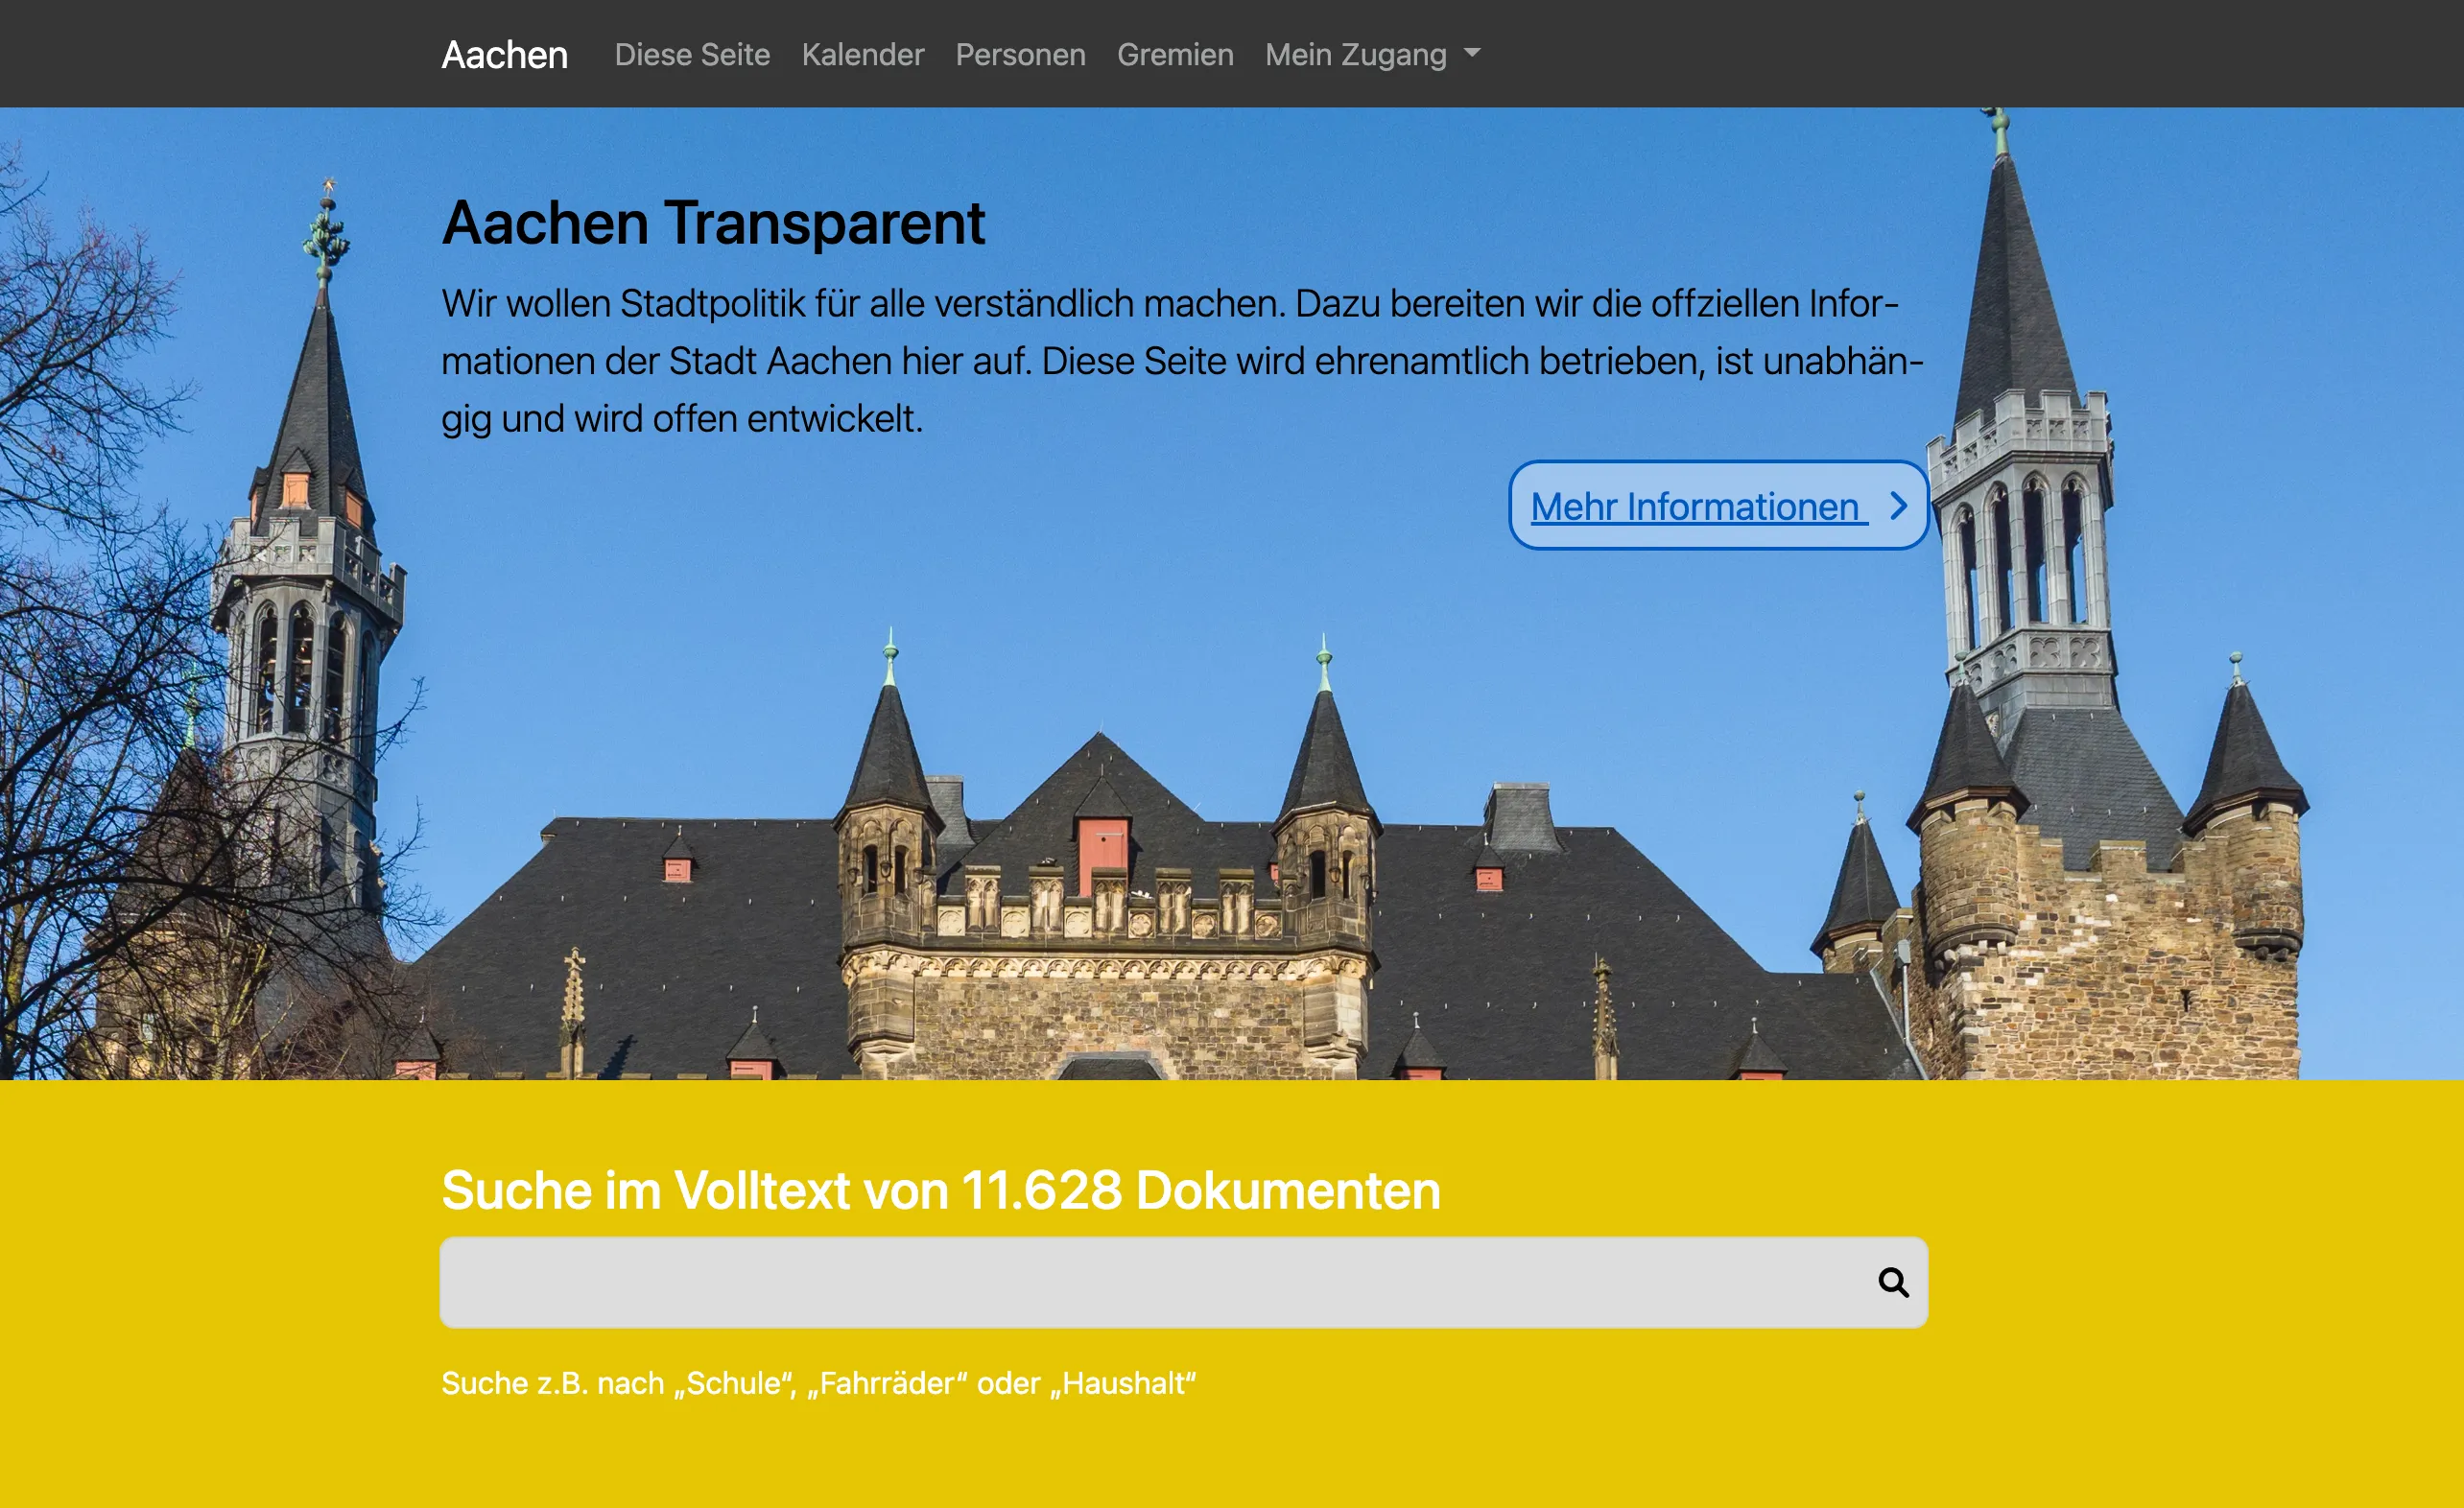
Ich möchte Stadtpolitik in Aachen für alle verständlich machen. Mein aktuellstes Projekt aachen-transparent.de ermöglicht es, die öffentlichen Informationen aus dem städtischen Ratsinformationssystem modern und benutzerfreundlich aufzubereiten. Dazu habe ich das bereits existieren Open-Source Projekt Meine-Stadt-Transparent erweitert und für die Bedürfnisse in Aachen angepasst.

Screenshot von aachen-transparent.de
Screenshot von aachen-transparent.de.

Aachen Transparent ist ein Projekt, dass ich ehrenamtlich im Rahmen des Open Data Labs Aachen ins Leben gerufen habe. Es versucht einige der Unzulänglichkeiten des Ratsinformationssystems der Stadt Aachen zu umgehen. Dazu nutzt es dessen öffentliche OParl Schnittstelle um die dort hinterlegten Informationen über eine moderne Oberfläche zugänglich zu machen.

GoSƐ - A terascale file-uploader

GoSƐ Logo
GoSƐ Logo.

GoSƐ is a modern and scalable file-uploader focusing on scalability and simplicity.

It is a little hobby project I’ve been working on over the last weekends.

The only requirement for GoSƐ is a S3 storage backend which allows to it to scale horizontally without the need for additional databases or caches. Uploaded files a divided into equally sized chunks which are hashed with a MD5 digest in the browser for upload. This allows GoSƐ to skip chunks which already exist. Seamless resumption of interrupted uploads and storage savings are the consequence.

And either way both upload and downloads are always directed directly at the S3 server so GoSƐ only sees a few small HTTP requests instead of the bulk of the data. Behind the scenes, GoSƐ uses many of the more advanced S3 features like Multi-part Uploads and Pre-signed Requests to make this happen.

Users have a few options to select between multiple pre-configured S3 buckets or enable browser & mail notifications about completed uploads. A customizable retention / expiration time for each upload is also selectable by the user and implemented by S3 life-cycle policies. Optionally, users can also opt-in to use an external service to shorten the URL of the uploaded file.

Currently a single concurrent upload of a single file is supported. Users can observe the progress via a table of details statistics, a progress-bar and a chart showing the current transfer speed.

GoSƐ aims at keeping its deployment simple and by bundling both front- & backend components in a single binary or Docker image. GoSƐ has been tested with AWS S3, Ceph’s RadosGW and Minio. Pre-built binaries and Docker images of GoSƐ are available for all major operating systems and architectures at the release page: /stv0g/gose (Releases) .

GoSƐ is open-source software licensed under the Apache 2.0 license.

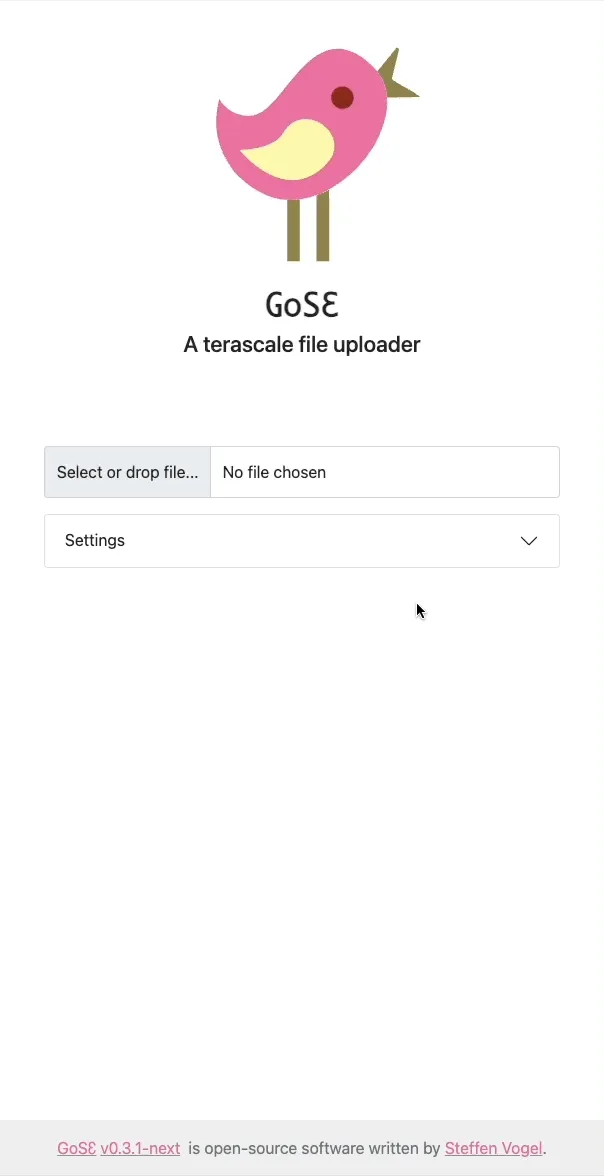
Live Demo
GoSƐ Demo
GoSƐ Demo.
  • De-duplication of uploaded files based on their content-hash
    • Uploads of existing files will complete in no-time without re-upload
  • S3 Multi-part uploads
    • Resumption of interrupted uploads
  • Drag & Drop of files
  • Browser notifications about failed & completed uploads
  • User-provided object expiration / retention time
  • Copy URL of uploaded file to clip-board
  • Detailed transfer statistics and progress-bar / chart
  • Installation via single binary or container
    • JS/HTML/CSS Frontend is bundled into binary
  • Scalable to multiple replicas
    • All state is kept in the S3 storage backend
    • No other database or cache is required
  • Direct up & download to Amazon S3 via presigned-URLs
    • Gose deployment does not see an significant traffic
  • UTF-8 filenames
  • Multiple user-selectable buckets / servers
  • Optional link shortening via an external service
  • Optional notification about new uploads via shoutrrr
    • Mail notifications to user-provided recipient
  • Cross-platform support:
    • Operating systems: Windows, macOS, Linux, BSD
    • Architectures: arm64, amd64, armv7, i386

I consider the current state of GoSƐ to be production ready. Its basic functionality is complete. However, there are still some ideas which I would like to work on in the future:

Also checkout the Codeberg Issue Tracker /stv0g/gose (Issues) for a detailed overview.

Running a Xilinx hw_server as Docker Container

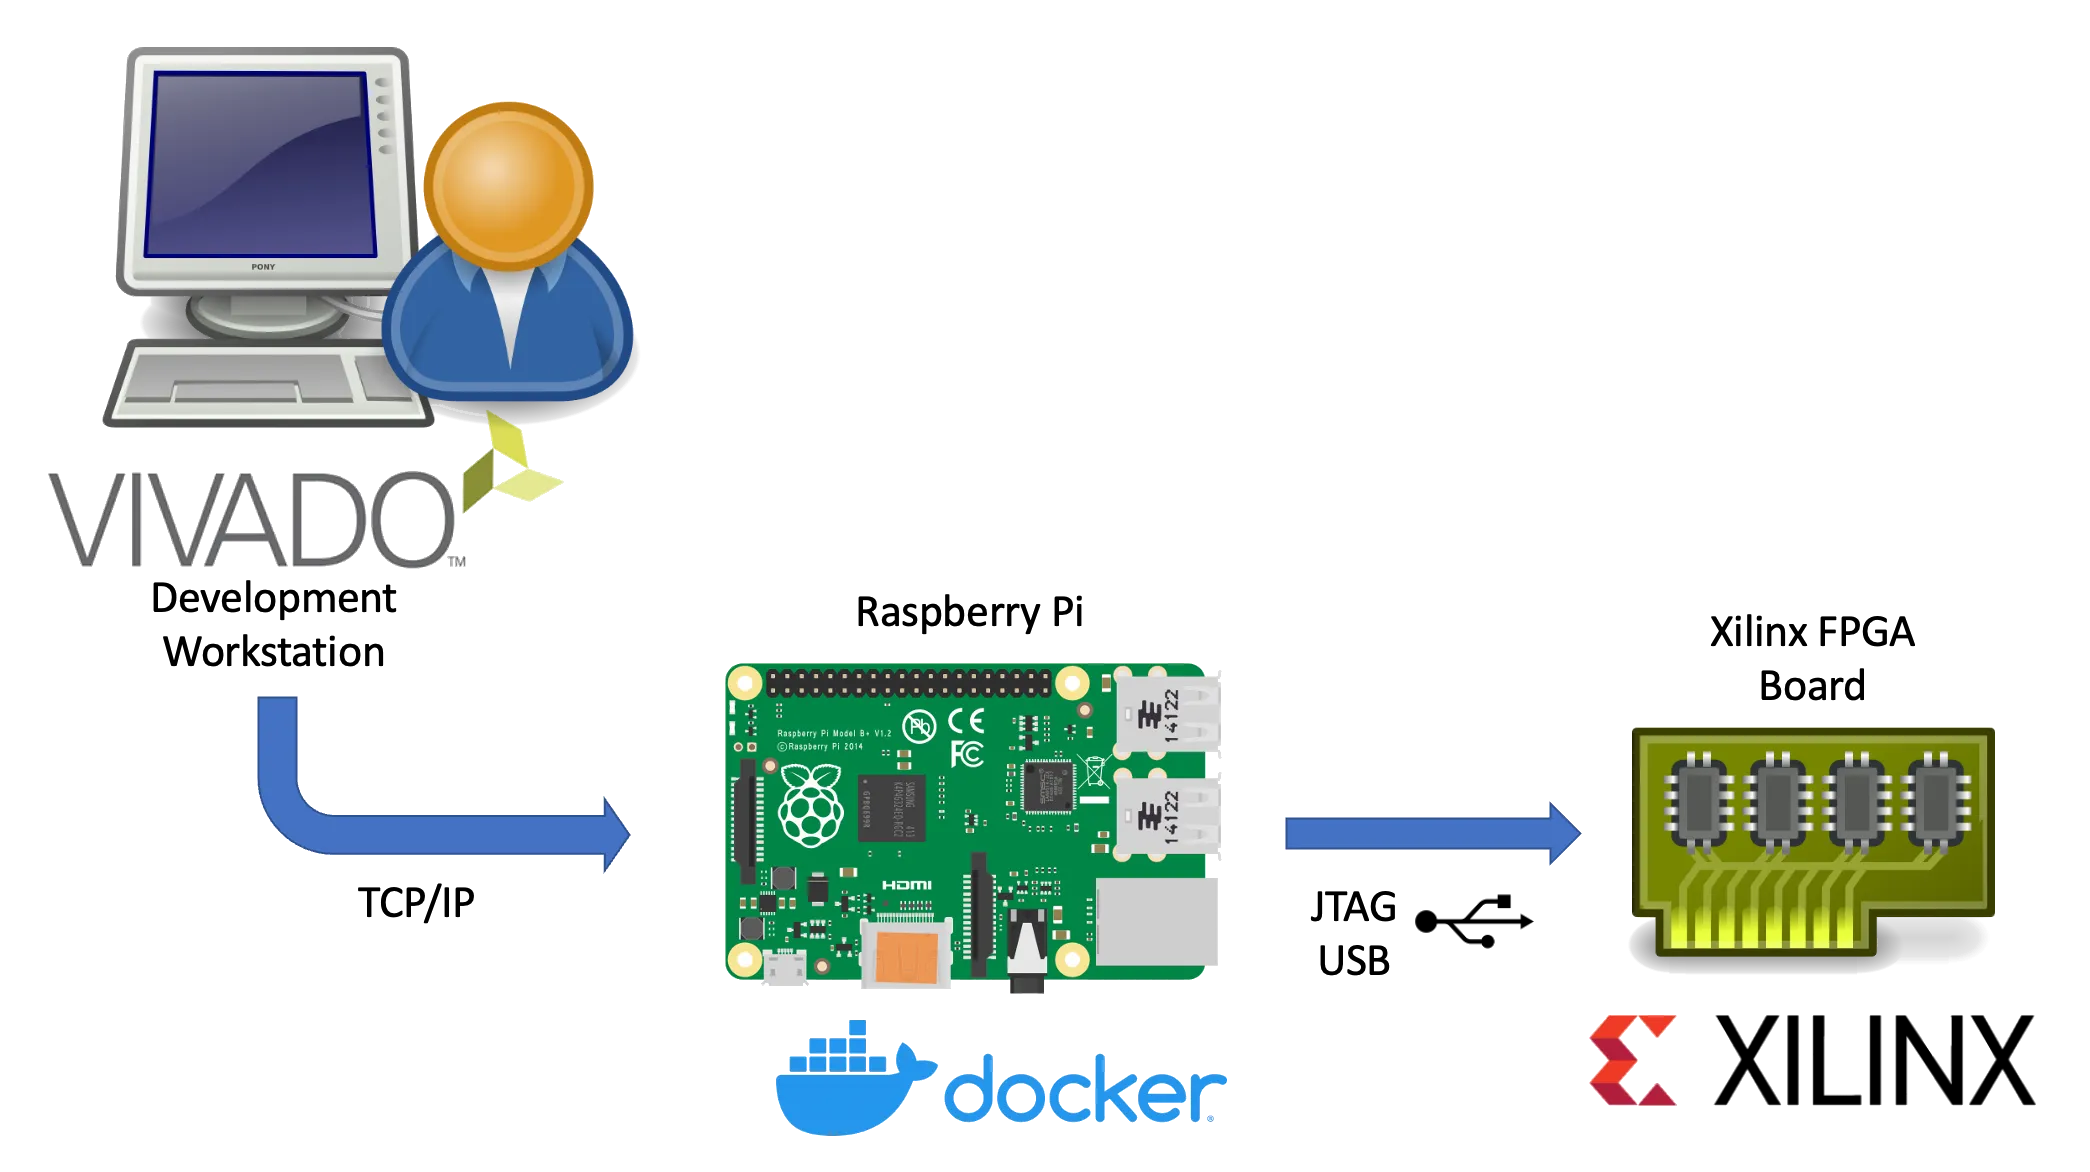
Dockerized Xilinx hw_server Setup
Dockerized Xilinx hw_server Setup.

This article describes the necessary steps to run a Xilinx hw_server as a Docker container.

Xilinx’s hw_server is a command line utility which handles JTAG communication between a Xilinx FPGA board and usually the Vivado IDE. It can be used to configure the FPGA bitstream, connect to the embedded logic analyzer cores (ILA) or perform debugging of processor cores via GDB and the Xilinx System Debugger (XSDB). The hw_server is usually used when those tasks shall performed remotely as the connection between Vivado or XSDB is established via TCP connection and allows us to run it on a remote system.

Running the hw_server as a Docker container has the benefit that its installation is simplified to starting a Docker container by running:

Terminal window
docker run \
--restart unless-stopped \
--privileged \
--volume /dev/bus/usb:/dev/bus/usb \
--publish 3121:3121 \
--detach \
ghcr.io/stv0g/hw_server:v2021.2

It also allows us to run the hw_server on architectures which are not natively supported by Xilinx such as the commonly used Aarch / ARM64 and ARMv7 architectures found in Raspberry Pis.

This is enabled by Dockers support for running container images for non-native architectures. I am using the aptman/qus Docker image ( /dbhi/qus ) to setup this user-mode emulation. The qemu-user-static (qus) image is a compilation of utilities, examples and references to build and execute OCI images (aka docker images) for foreign architectures using QEMU’s user-mode emulation.

Run the following commands to run the hw_server on a embedded device:

Terminal window
# Install docker
sudo apt-get update && sudo apt-get upgrade
curl -sSL https://get.docker.com | sh
# Start Docker
sudo systemctl enable --now docker
# Enable qemu-user emulation support for running amd64 Docker images
# *Note:* only required if your system arch is not amd64!
docker run --rm --privileged aptman/qus -s -- -p x86_64
# Run the hw_server
docker run --restart unless-stopped --privileged --volume /dev/bus/usb:/dev/bus/usb --publish 3121:3121 --detach ghcr.io/stv0g/hw_server:v2021.2

This setup has been tested with a Raspberry Pi 4 running the new 64-bit Debian Bullseye Raspberry Pi OS.

The pre-built Docker image for the hw_server of Vivado 2021.2 is available via:

/stv0g/xilinx-hw-server-docker (Packages)

Detailed instructions can be found at Codeberg: /stv0g/xilinx-hw-server-docker .

breadBUG

breadBUG ist ein kleines Mikrocontroller Modul, das direkt auf ein Breadboard aufgesteckt werden kann. Es ist als Prototyping-Werkzeug für tägliche Basteleien gedacht.

Es fasst das für den Mikrocontroller nötige “Vogelfutter” auf einer kleinen Platine zusammen:

  • ATmega8 Controller
  • 16 MHz Quarz und Keramikkondensatoren
  • 5 V Festspannungsregler
  • Reset Taster
  • ISP Stecker
  • LED zur Spannungsüberwachung

breadBUG ist während meiner Arbeit für die Mikrocontroller-AG des MMIs entstanden. Einige Teilnehmer wünschten sich ein einfaches, kleines und günstiges Modul, das sie als Alternative zu dem von uns verwendeten Evaluation Board für eigene Projekte nutzen können.

Fast alle von uns in der AG verwendeten Erweiterungsmodule sind daher Pin-kompatibel mit dem “breadBUG” Board. Bis auf den Controller selber haben wir nur Through-hole Komponenten verwendet um den Aufbau auch für Einsteiger möglichst einfach zu halten.

Das Board hat etwa eine Größe von 2.5x5 cm, sodass im Mehrfachnutzen genau zwei Boards auf eine 5x5cm Platine von seeedstudio.com passen. Damit liegt der Preis für eine einzelne Platine bei weniger als 50 Cent.

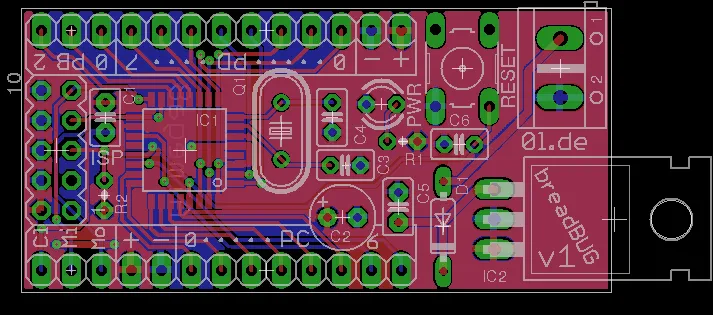
Platinen Layout des breadBUG
Platinen Layout des breadBUG.

EAGLE Schaltplan, Layout und Gerber Dateien gibt es auf Codeberg: /stv0g/hardware/breadBUG/v1 .

mountL2P: Mount L2P Shares on Linux

l2p-3d-klein

Vielleicht kennt ihr Sync-my-L2P? Es ist ein kleines Tool, das automatisiert Dateien vom Online Lernportal der RWTH herunterlädt und syncronisieren kann.

Eigentlich eine super Sache! Entgegen meiner ursprünglichen Erwartung ist das Tool auch unter Linux lauffähig. Ich habe mich trotzdem dazu entschieden das ganze etwas anders, aus meiner Sicht deutlich simpler, zu lösen.

Mein Skript nutzt die Möglichkeit einzelne Microsoft Sharepoint Ordner (hier: L2P-Lernräume) via WebDav einzubinden.

Dazu gibt es unter Linux zwei Varianten:

  1. [davfs2](https://savannah.nongnu.org/projects/davfs2 (nutzt FUSE, kompatibel mit mount und fstab)
  2. gvfs (stark in GNOME & Nautilus integriert, einfach)

Die zweite Variante ist für GNOME Nutzer deutlich einfacher, da hier nur eine entsprechende URI in die Adresszeile des Dateimanagers eingegeben werden muss.

Mein Tool hilft euch diese URIs zu finden, indem es sich unter eurem Namen im L2P einloggt und nachsieht in welchen Lernräumen ihr registiert seid.

Das Skript ist auf Codeberg verfügbar: /stv0g/snippets/bash/mount.l2p.sh .

Terminal window
$ mountl2p.sh
usage: mountl2p.sh [-f FORMAT] [-s SEMESTER] [-u L2P_USER] [-p L2P_PASS]
FORMAT is one of 'gvfs' or 'fstab'
SEMESTER is an optional regex to filter the semester
L2P_USER is your L2P account name like 'sv123242'
L2P_PASS is your L2P account password

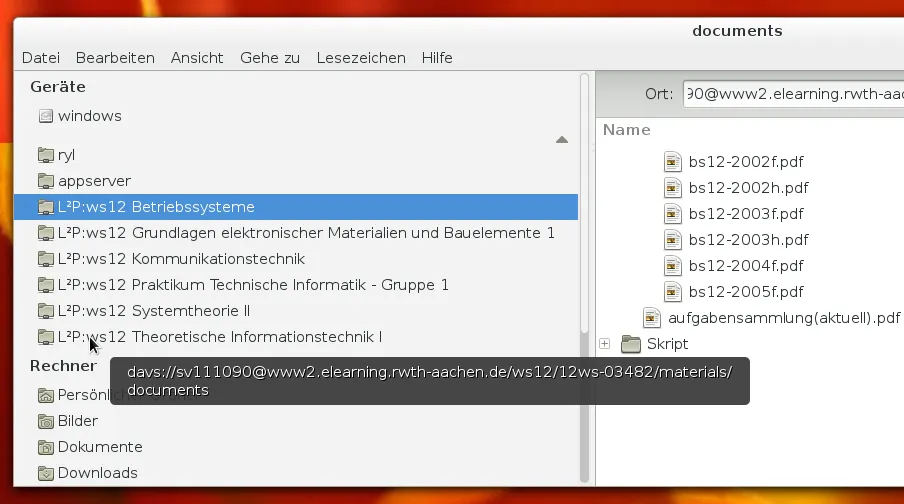
Um schnell auf die aktuellen Lernräume zugreifen zu können, bietet es sich an diese als Lesezeichen im Dateimanager zu registrieren:

Terminal window
./mountl2p.sh -f gvfs -s "ws12|ss12" -u sv111090 >> ~/.gtk-bookmarks
L2P WebDAV Mount
L2P WebDAV Mount.