Im September letzten Jahres hat sich in Aachen das Open Data Lab mit einer virtuellen Kick-off Veranstaltung gegründet.
Im Open Data Lab wollen wir ehrenamtlich Projekte rund um Offene Daten in Aachen voranbringen.
Wir suchen dazu Personen, die daran generell interessiert sind, ob Entwickler*innen, Designer*innen, Datenjournalist*innen aus Verwaltung, Politik und Gesellschaft.
Wir wollen Daten und Ideen zusammenbringen und daraus Projekte generieren.
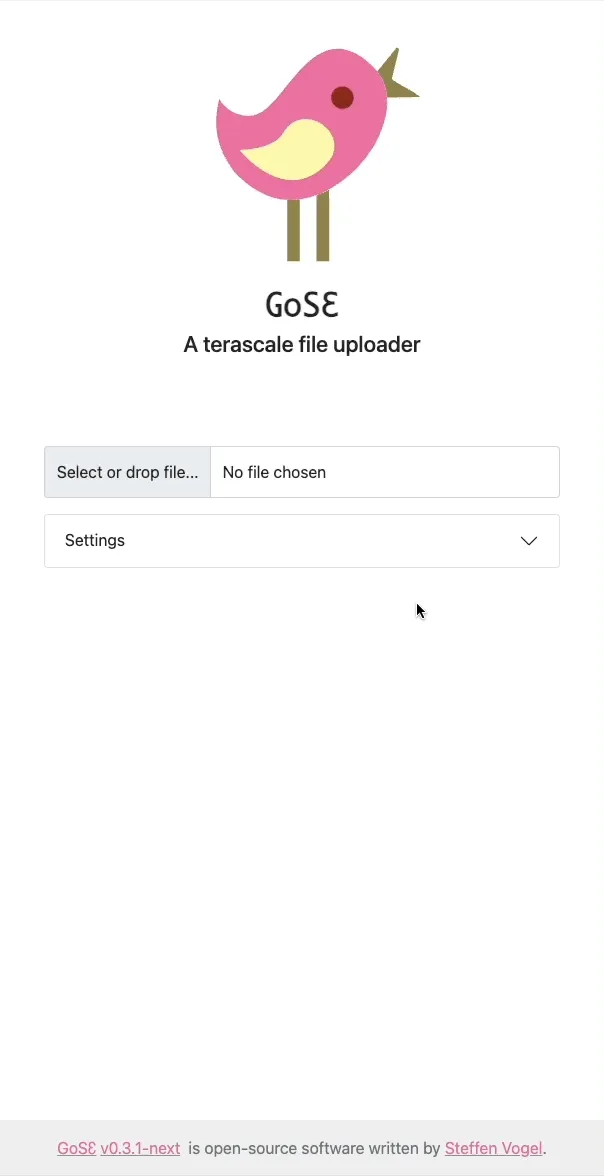
GoSƐ is a modern and scalable file-uploader focusing on scalability and simplicity.
It is a little hobby project I’ve been working on over the last weekends.
The only requirement for GoSƐ is a S3 storage backend which allows to it to scale horizontally without the need for additional databases or caches.
Uploaded files a divided into equally sized chunks which are hashed with a MD5 digest in the browser for upload.
This allows GoSƐ to skip chunks which already exist.
Seamless resumption of interrupted uploads and storage savings are the consequence.
And either way both upload and downloads are always directed directly at the S3 server so GoSƐ only sees a few small HTTP requests instead of the bulk of the data.
Behind the scenes, GoSƐ uses many of the more advanced S3 features like Multi-part Uploads and Pre-signed Requests to make this happen.
Users have a few options to select between multiple pre-configured S3 buckets or enable browser & mail notifications about completed uploads.
A customizable retention / expiration time for each upload is also selectable by the user and implemented by S3 life-cycle policies.
Optionally, users can also opt-in to use an external service to shorten the URL of the uploaded file.
Currently a single concurrent upload of a single file is supported.
Users can observe the progress via a table of details statistics, a progress-bar and a chart showing the current transfer speed.
GoSƐ aims at keeping its deployment simple and by bundling both front- & backend components in a single binary or Docker image.
GoSƐ has been tested with AWS S3, Ceph’s RadosGW and Minio.
Pre-built binaries and Docker images of GoSƐ are available for all major operating systems and architectures at the release page: /stv0g/gose (Releases) .
GoSƐ is open-source software licensed under the Apache 2.0 license.
I consider the current state of GoSƐ to be production ready.
Its basic functionality is complete.
However, there are still some ideas which I would like to work on in the future:
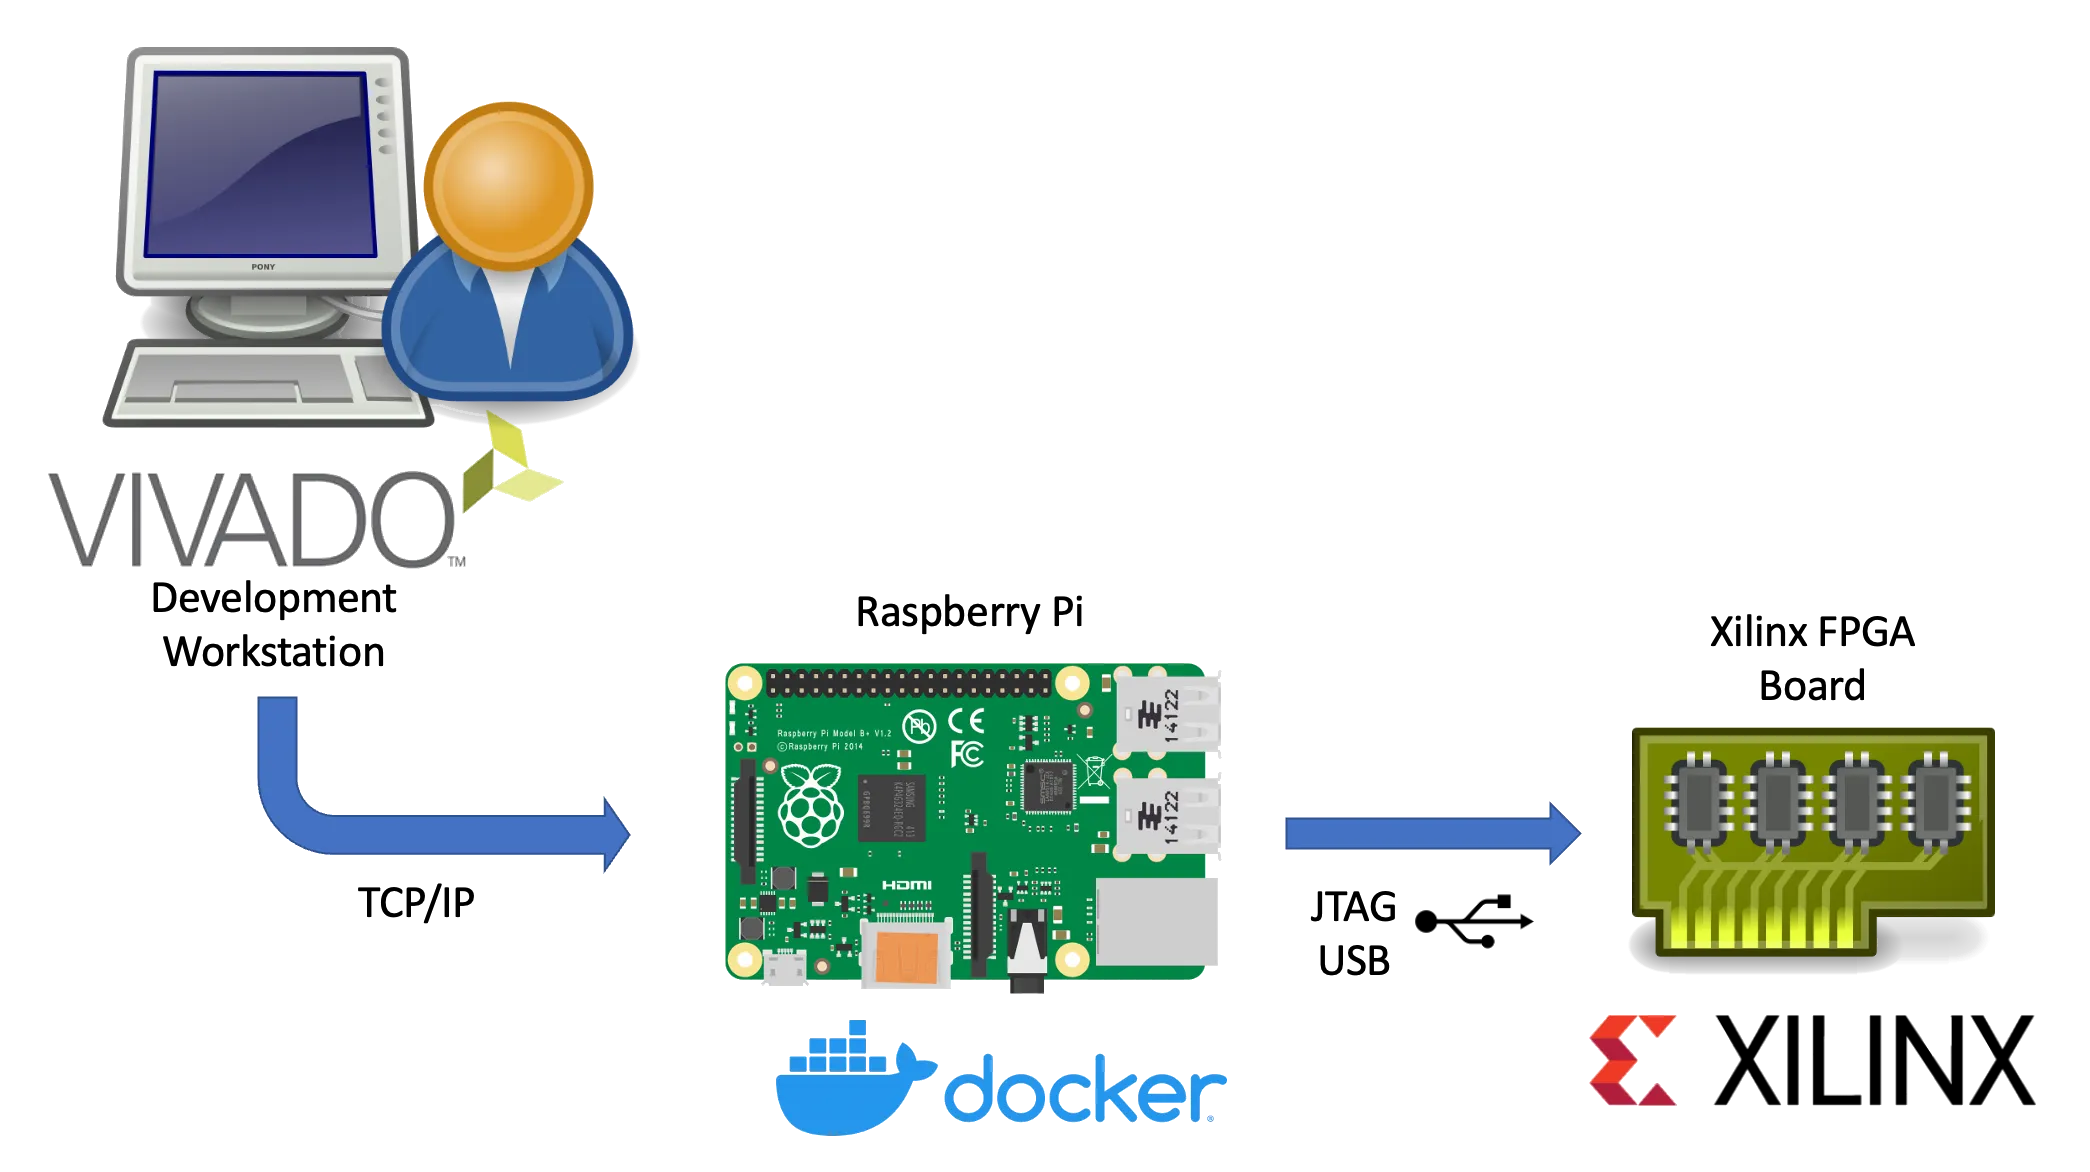
This article describes the necessary steps to run a Xilinx hw_server as a Docker container.
Xilinx’s hw_server is a command line utility which handles JTAG communication between a Xilinx FPGA board and usually the Vivado IDE.
It can be used to configure the FPGA bitstream, connect to the embedded logic analyzer cores (ILA) or perform debugging of processor cores via GDB and the Xilinx System Debugger (XSDB).
The hw_server is usually used when those tasks shall performed remotely as the connection between Vivado or XSDB is established via TCP connection and allows us to run it on a remote system.
Running the hw_server as a Docker container has the benefit that its installation is simplified to starting a Docker container by running:
Terminal window
dockerrun\
--restartunless-stopped\
--privileged\
--volume/dev/bus/usb:/dev/bus/usb\
--publish3121:3121\
--detach\
ghcr.io/stv0g/hw_server:v2021.2
It also allows us to run the hw_server on architectures which are not natively supported by Xilinx such as the commonly used Aarch / ARM64 and ARMv7 architectures found in Raspberry Pis.
This is enabled by Dockers support for running container images for non-native architectures.
I am using the aptman/qus Docker image (/dbhi/qus ) to setup this user-mode emulation.
The qemu-user-static (qus) image is a compilation of utilities, examples and references to build and execute OCI images (aka docker images) for foreign architectures using QEMU’s user-mode emulation.
Run the following commands to run the hw_server on a embedded device:
Terminal window
# Install docker
sudoapt-getupdate&&sudoapt-getupgrade
curl-sSLhttps://get.docker.com|sh
# Start Docker
sudosystemctlenable--nowdocker
# Enable qemu-user emulation support for running amd64 Docker images
# *Note:* only required if your system arch is not amd64!
In this quick post I will show you how to use the password manager “password-store”1 to securely store your credentials used by the Amazon Webservices command line client.
AWS CLI Logo.
The installation for Mac and Linux system is fairly easy:
Terminal window
pipinstallawscli
The credentials are stored as key-value pairs inside a PGP-encrypted file.
Every time you call the AWS CLI tool, your keys will be decrypted and directly passed to the aws tool.
Use pass to add your keys in the store:
Terminal window
passeditproviders/aws
An editor opens.
Use the following format:
User: stv0g
Access-Key: AKB3ASJGBS3GOMXK6KPSQ
Secret-Key: vAAABn/PMAksd235gAs/FSshhr42dg2D4EY3
Add the following snippet to your ~/.bashrc:
Terminal window
functionaws{
localPASS=$(passproviders/aws)
localAWS=$(whichaws)
# Start original aws executable with short-lived keys
I spent some time over the last months to improve the security of servers and passwords.
In doing so, I started to orchestrate my servers using a configuration management tool called Ansible.
This allows me to spin-up fresh servers in a few seconds and to get rid of year-old, polluted and insecure system images.
Ansible loves Yubico.
My ‘single password for everything’ has been replaced by a new password policy which enforces individual passwords for every single service.
This was easier than I previously expected:
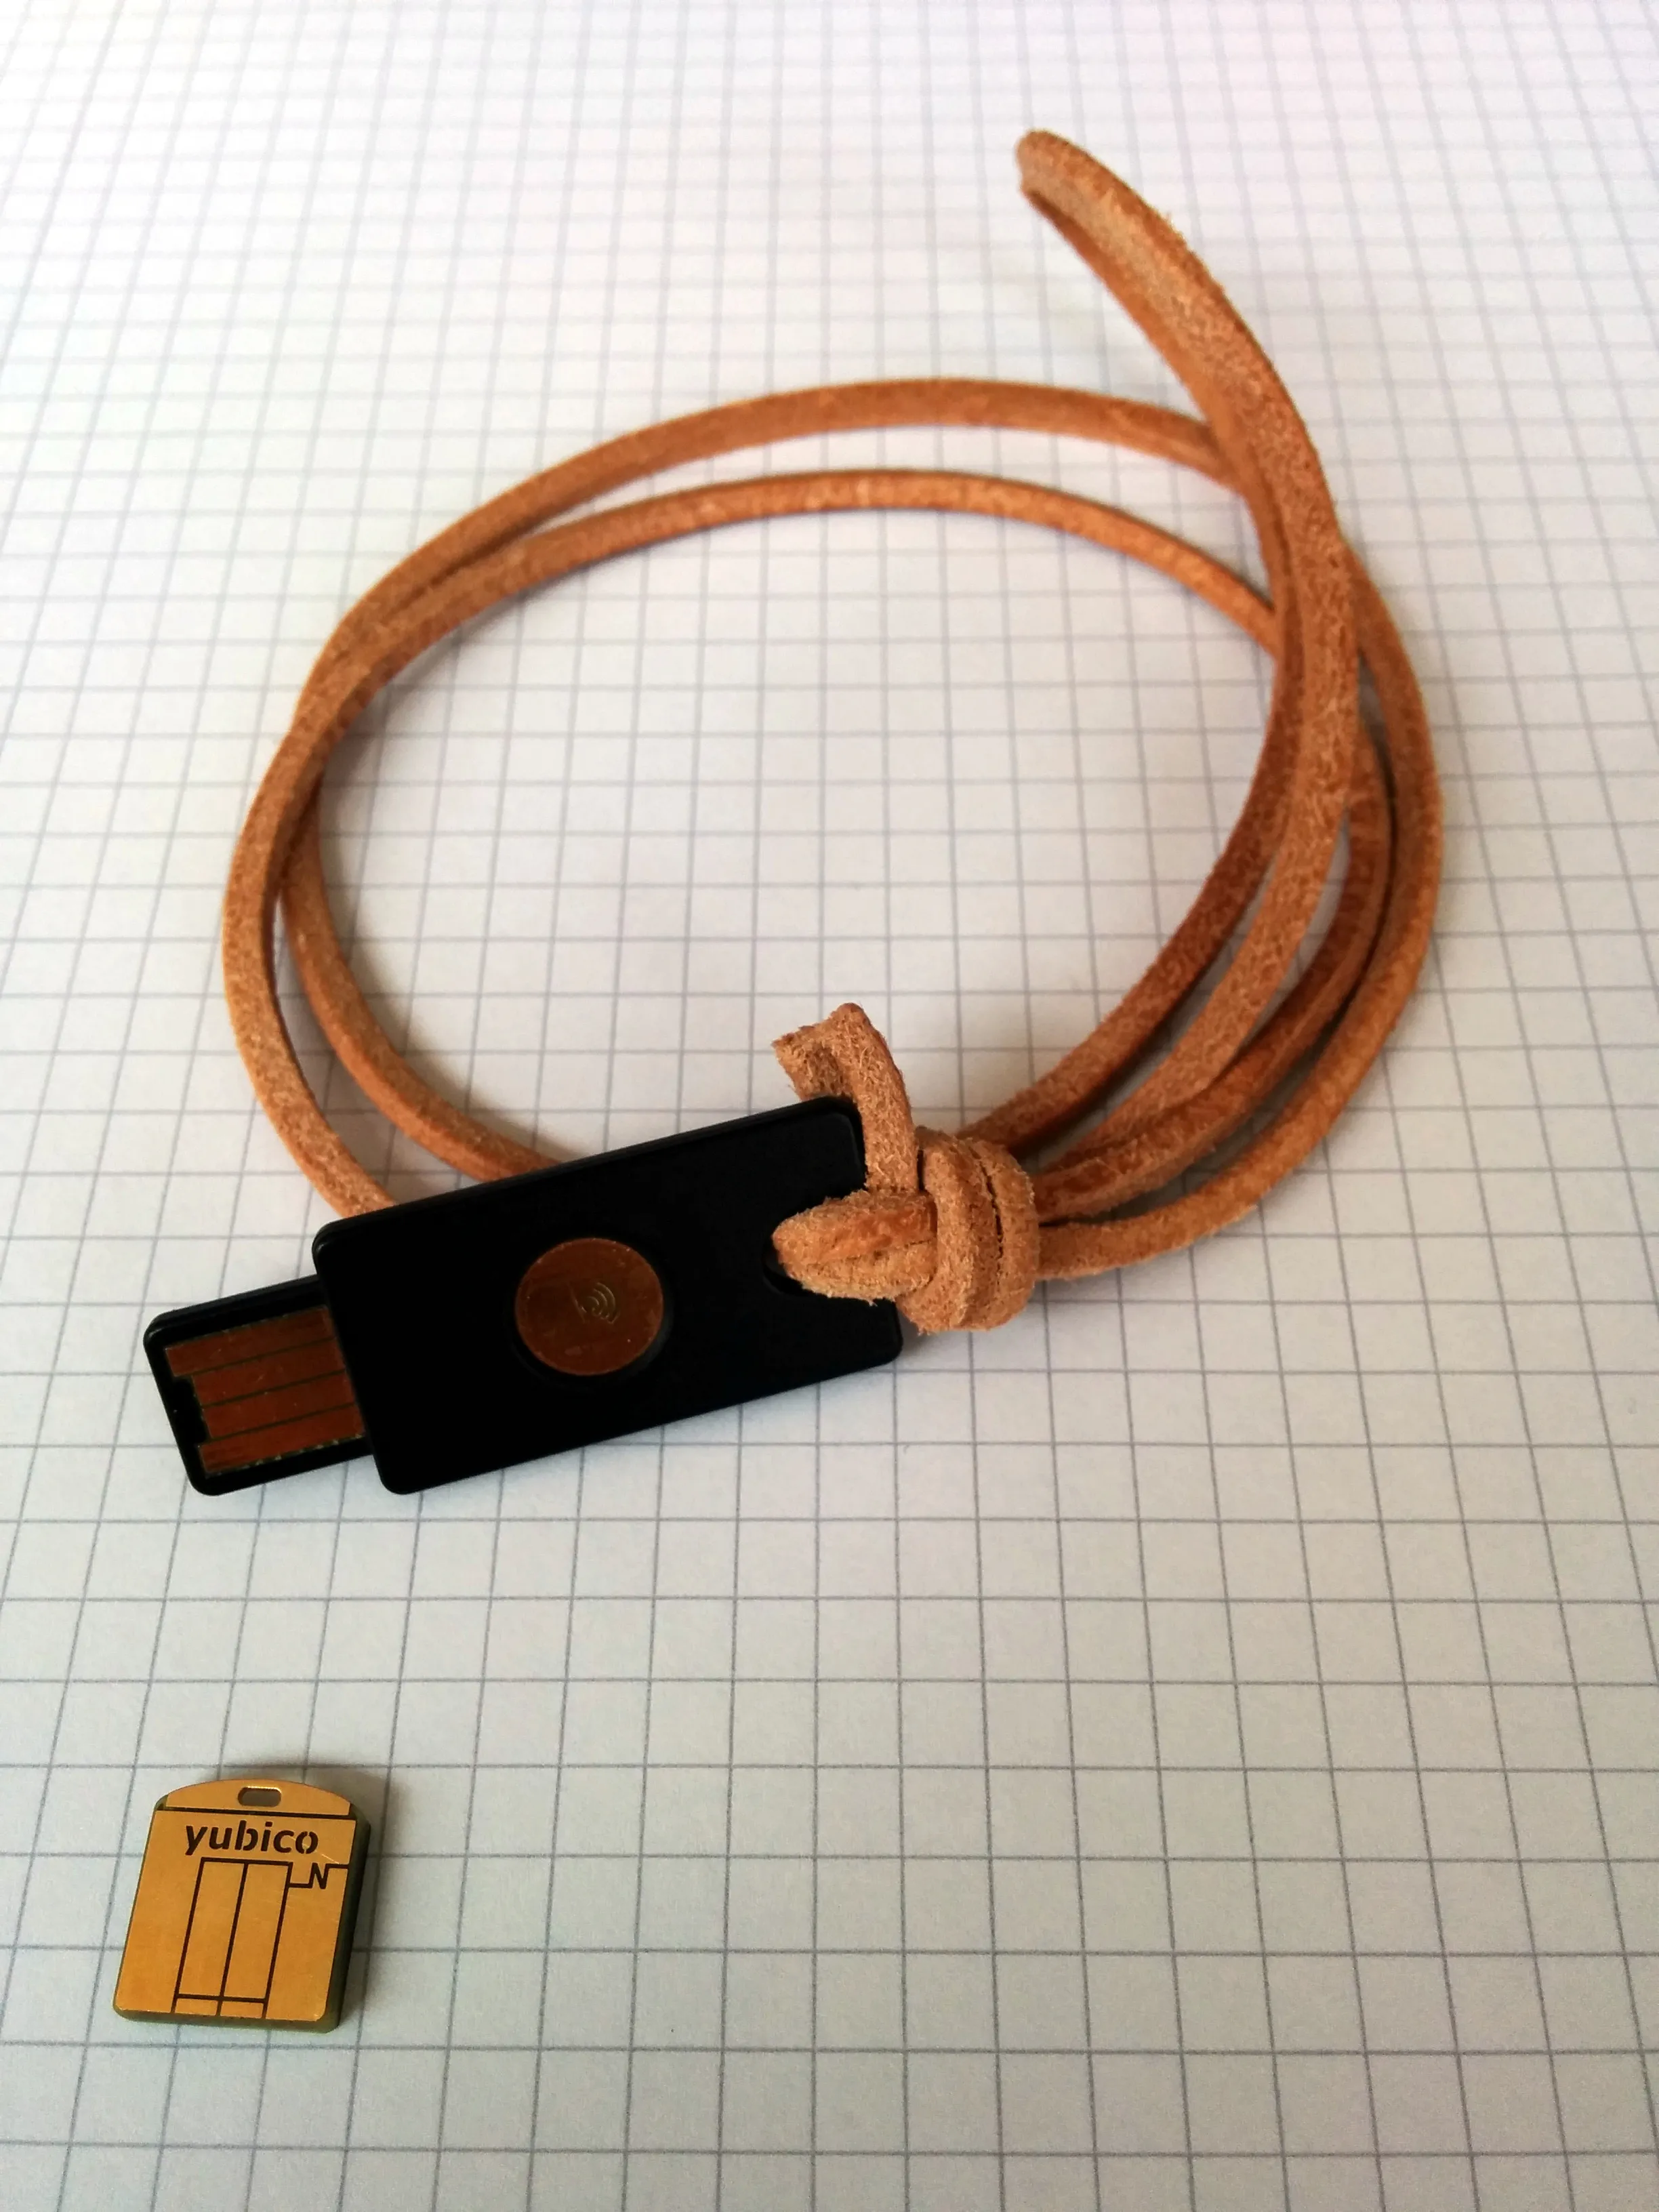
To unlock the ‘paranoid’ level, I additionally purchased a Yubikey Neo token to handle the decryption of my login credentials in tamper-proof hardware.
‘pass’ is just a small shell script to glue several existing Unix tools together: Bash, pwgen, Git, xclip & GnuPG (obeying the Unix philosophy).
The passwords are stored in simple text files which are encrypted by PGP and stored in a directory structure which is managed in a Git repository.
Yubikey Neo und Neo-n.
There are already a tons of tutorials which present the tools I describes above.
I do not want to repeat all of it.
So, this post is dedicated to solve some smaller issues I encountered.